Fact-checked by the digital reach solutions editorial team
Quick Answer
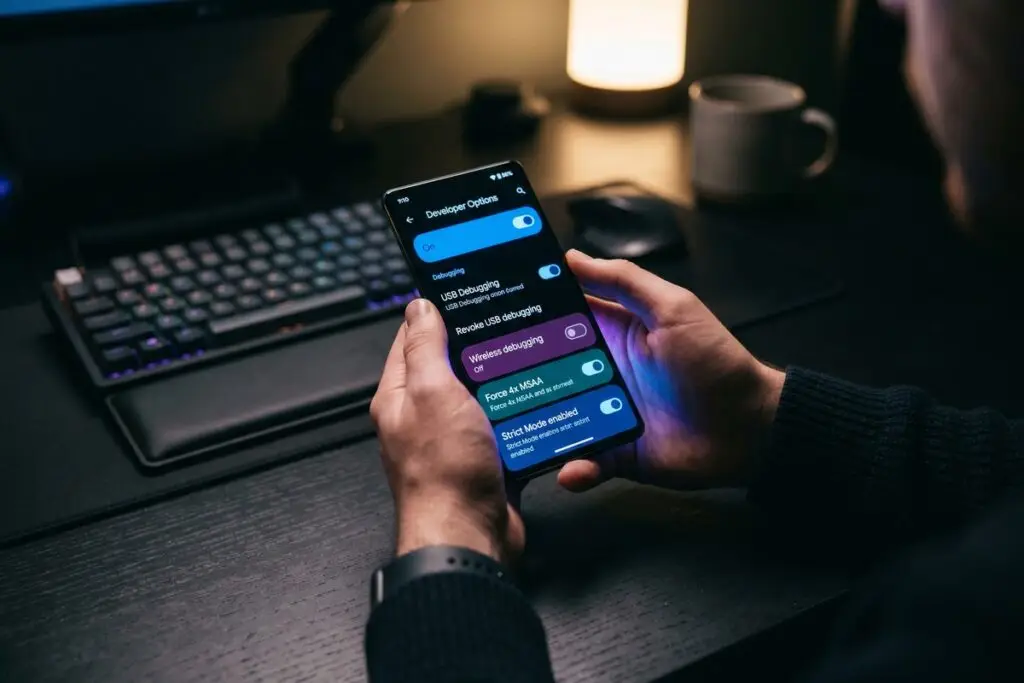
In July 2025, the most impactful Android developer options include USB debugging, GPU rendering, animation speed reduction, background process limits, and Bluetooth codec selection. Reducing animation scales from 1x to 0.5x alone makes any Android device feel measurably faster — no hardware upgrade required.
Android developer options is a hidden settings menu built into every Android device, unlocked by tapping the build number 7 times in the About Phone section — a feature documented by Google’s official Android developer documentation. Most users never touch it, yet it contains performance and debugging controls that can genuinely transform daily phone use.
With Android 15 now widely deployed and Android 16 on the horizon, these settings are more powerful and accessible than ever — and understanding them separates casual users from those who actually get the most out of their hardware.
How Do You Unlock Android Developer Options Without Breaking Anything?
You unlock Android developer options by navigating to Settings, tapping “About Phone,” then tapping “Build Number” exactly 7 times — no root access or third-party tools required. A confirmation message will appear: “You are now a developer.”
The menu then appears in Settings under “System” on most devices, or directly in Settings on Samsung Galaxy and Pixel phones. Google deliberately hides it to prevent accidental changes, but the unlock process carries no risk by itself.
Once inside, you will find over 40 individual toggles and controls. The key is touching only what you understand. Enabling USB debugging, adjusting animation scales, and modifying rendering settings are low-risk and high-reward. Enabling options like “OEM unlocking” or “Revoke USB debugging authorizations” without context can create security or usability issues, so restraint matters.
If you have ever noticed your Android phone feeling sluggish despite clean storage, the answer is often in this menu — not in a factory reset. For more on common performance mistakes, see 5 mistakes people make when trying to speed up a slow Android phone.
Key Takeaway: Unlocking Android developer options requires tapping “Build Number” exactly 7 times in About Phone — no root access needed. The menu contains over 40 controls that can improve performance, but only a handful are relevant for everyday optimization.
Does Reducing Animation Scale Actually Make Your Phone Faster?
Yes — reducing the three animation scale settings (Window, Transition, and Animator) from 1x to 0.5x is one of the most noticeable performance changes you can make without any hardware modification. It cuts the time Android spends rendering visual transitions, making every tap and swipe feel more immediate.
These three settings control how long animations take to complete at the system level. At 1x, a standard Android transition takes roughly 300 milliseconds. At 0.5x, that drops to 150 milliseconds — a difference that is imperceptible to the eye but registers clearly as responsiveness. Setting them to 0 removes animations entirely, which some users prefer on older devices.
Which Animation Settings to Change
Inside Android developer options, locate these three controls under the “Drawing” category:
- Window animation scale — affects how app windows open and close
- Transition animation scale — affects navigation between screens
- Animator duration scale — affects in-app animations and loading sequences
Set all three to 0.5x for a balanced feel. Setting all to 0 is faster but can make the interface feel abrupt and harder to follow visually.
“Animation duration is one of the most underutilized performance levers available to Android users. Halving the default scale is effectively free performance — it costs nothing in battery or processing, and the perceptual speed gain is real.”
Key Takeaway: Setting all three animation scales to 0.5x in Android developer options cuts system transition time from roughly 300ms to 150ms. According to Android Authority’s developer options guide, this is the single fastest way to make any Android feel more responsive.
Should You Limit Background Processes on Android?
Limiting background processes through Android developer options can noticeably reduce RAM pressure on devices with 4GB or less of RAM, but it comes with trade-offs on modern phones with 8GB or more. The setting controls how many apps Android keeps alive in memory simultaneously.
The default is “Standard limit,” which allows Android’s memory management system to decide. Setting it to “At most 2 processes” or “At most 3 processes” forces the system to aggressively kill background apps, freeing RAM for the foreground task. On budget devices running Android 13 or 14, this can reduce app reload times when multitasking.
On flagship devices with 8GB–16GB of RAM — such as the Google Pixel 9 Pro or Samsung Galaxy S25 — limiting background processes often makes performance worse by forcing more cold app launches. Match this setting to your hardware. Below 4GB RAM: set to 3 or fewer. Above 6GB: leave it at Standard.
| Device RAM | Recommended Background Process Limit | Expected Impact |
|---|---|---|
| 2–3 GB | At most 2 processes | Significant RAM relief, faster foreground apps |
| 4 GB | At most 3 processes | Moderate improvement, fewer reloads |
| 6 GB | At most 4 processes | Minimal change, some power saving |
| 8 GB+ | Standard limit | Best performance, let Android manage |
Key Takeaway: Capping background processes at 2–3 in Android developer options meaningfully reduces RAM pressure on devices with 4GB or less, according to Google’s Android memory management documentation. Devices with 8GB or more RAM should leave this at the standard default.
Can Android Developer Options Improve Bluetooth Audio Quality?
Yes — Android developer options expose Bluetooth codec selection, allowing users to manually choose between SBC, AAC, aptX, aptX HD, and LDAC, rather than relying on automatic negotiation. This single change can dramatically improve wireless audio fidelity on supported headphones.
The default codec is SBC, which transmits audio at roughly 328 kbps. LDAC, developed by Sony and supported natively since Android 8.0 Oreo, can transmit at up to 990 kbps — more than 3x the data rate. The audible difference on quality headphones like the Sony WH-1000XM5 or Bose QuietComfort Ultra is substantial on lossless or high-bitrate files.
How to Change the Bluetooth Codec
In Android developer options, scroll to the “Networking” section and locate “Bluetooth Audio Codec.” Tap it and select the highest codec your headphones support. If your headphones do not support LDAC or aptX HD, selecting them will cause the connection to fall back to SBC anyway — check your headphone specs first.
Note that LDAC at 990 kbps can occasionally cause minor connection instability in environments with heavy 2.4GHz interference. Android offers an LDAC “Best effort” mode at 660 kbps as a middle ground between quality and stability. If you are also concerned about wireless security habits, our guide on digital security for freelancers working on public Wi-Fi covers related wireless considerations worth reading.
Key Takeaway: Switching from the default SBC codec to LDAC in Android developer options increases Bluetooth audio bandwidth from roughly 328 kbps to up to 990 kbps according to Sony’s LDAC specification — a genuine audio quality upgrade for compatible headphones requiring no additional hardware.
Does Forcing GPU Rendering Improve App Performance?
Enabling “Force GPU rendering” in Android developer options forces apps to use the device’s graphics processor for 2D drawing operations, even in apps that have not explicitly enabled it. On most modern Android devices, this results in smoother UI rendering and reduces CPU load during graphically intensive tasks.
The GPU (Graphics Processing Unit) is purpose-built for rendering tasks. When apps draw to the screen using the CPU instead, it competes with background processes for the same resource pool. Forcing GPU rendering offloads that work to dedicated silicon. According to Google’s Android rendering performance documentation, GPU-accelerated rendering is the standard for smooth 60fps interfaces.
Profile GPU Rendering: The Diagnostic Tool You Should Use First
Before enabling Force GPU Rendering, turn on “Profile GPU Rendering” and set it to “On screen as bars.” This overlays a real-time bar chart showing exactly how long each frame takes to render. Bars above the green line (16ms threshold) represent dropped frames. This diagnostic view helps you identify whether your performance issues are GPU-related before making changes.
This pairs well with understanding your phone’s broader performance behaviors. If you are troubleshooting persistent slowdowns, check out our deeper breakdown of common Android speed mistakes that go beyond developer settings.
Key Takeaway: “Force GPU Rendering” in Android developer options offloads 2D drawing from the CPU to the GPU, supporting a smooth 60fps rendering target. Google’s rendering documentation recommends GPU-accelerated drawing as the baseline for performant Android interfaces.
Frequently Asked Questions
Is it safe to turn on Android developer options?
Unlocking Android developer options is safe and reversible — simply toggle “Developer options” off in Settings to hide the menu and reset most changes. The risk comes from enabling specific settings like OEM unlocking or USB debugging on an unsecured device, not from unlocking the menu itself.
Will enabling developer options drain my battery faster?
Some developer options do increase battery drain, particularly “Stay Awake” (keeps screen on while charging), “Bluetooth HCI snoop log,” and LDAC at maximum bitrate. Reducing animation scales and adjusting background processes can actually improve battery life. Review each setting individually rather than enabling multiple options at once.
Do Android developer options reset after a factory reset?
Yes — a factory reset will disable developer options and restore all settings to their defaults. The menu must be unlocked again by tapping Build Number 7 times. Individual setting changes are also wiped, so document your preferred configuration before performing any reset.
What is the best Android developer option for gaming performance?
For gaming, the most impactful settings are reducing animation scales to 0.5x, enabling Force GPU Rendering, and setting the minimum width to match your preferred display density. These three changes together reduce input latency and improve frame consistency without requiring a hardware upgrade or root access.
Can Android developer options break my phone?
Standard developer options adjustments cannot permanently damage your phone. However, enabling “OEM unlocking” and then proceeding to unlock the bootloader will wipe all data and void warranties on most devices. Stick to the performance-focused settings described in this article and avoid bootloader or security-related toggles unless you have specific technical knowledge.
Do Android developer options work the same on Samsung as on Pixel?
The core options — animation scales, background process limits, GPU rendering, and Bluetooth codecs — are available on both Samsung One UI and Google Pixel devices running Android 10 or later. Samsung’s menu path is Settings > Developer Options (after unlocking), while Pixel places it under Settings > System > Developer Options. Some Samsung-specific options appear that are absent on Pixel, and vice versa. For a broader comparison of Android and iOS interface approaches, our iPhone Focus Mode vs Android Bedtime Mode comparison explores how the two platforms handle system-level controls differently.
Sources
- Google Android Developers — Configure On-Device Developer Options
- Google Android Developers — Overview of Memory Management
- Google Android Developers — Reduce Overdraw and GPU Rendering
- Android Authority — Android Developer Options Explained
- Sony — LDAC High-Resolution Audio Codec Specification
- Android Open Source Project — Bluetooth Audio HAL Documentation
- XDA Developers — Best Android Developer Options to Enable